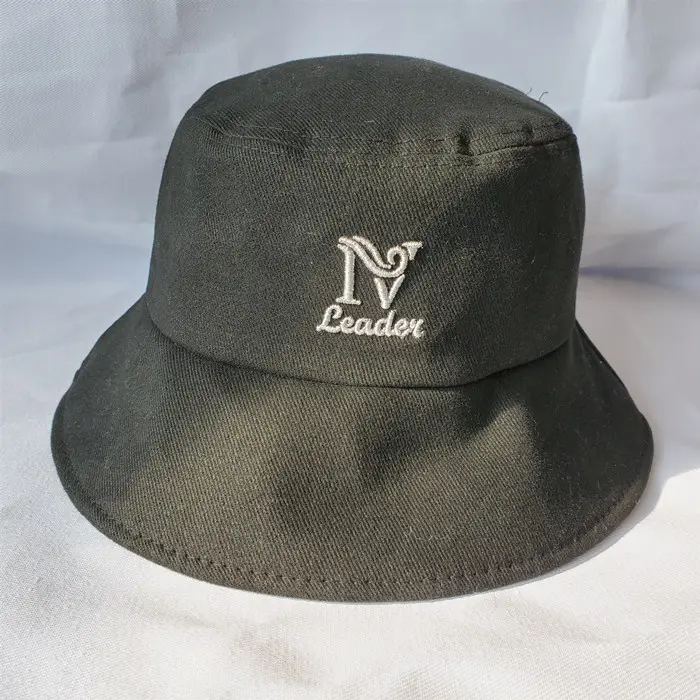
Making a bucket hat is a relatively simple sewing project that can be completed with a few basic materials and tools. Here are the general steps you can follow to make a bucket hat:
Fabric (cotton or canvas works well)
Interfacing (optional)
Thread
Sewing machine or needle and thread
Scissors
Ruler or measuring tape
Pins
Cut two circles of fabric for the top of the hat. The size of the circles will depend on the desired size of the hat. A general guideline is to cut a 10-inch diameter circle for a medium-sized hat.
Cut a long strip of fabric for the brim of the hat. The width of the strip should be equal to the desired depth of the brim, plus 1 inch for seam allowance. The length of the strip should be equal to the circumference of the hat (the distance around the edge of the top circles), plus 1 inch for seam allowance.
Cut a piece of interfacing to the same size as the brim strip, if using.
Sew the two top circles together with right sides facing, leaving a small opening for turning.
Turn the top of the hat right side out and press flat.
Sew the brim strip together with right sides facing, leaving a small opening for turning.
Turn the brim strip right side out and press flat.
Optional: Attach the interfacing to the brim strip, following the manufacturer's instructions.
Pin the brim strip to the bottom edge of the hat top, with right sides facing and raw edges aligned.
Sew the brim in place, leaving a small opening for turning.
Turn the hat right side out and press flat.
Sew the opening in the top of the hat closed.
Optional: Topstitch around the brim of the hat for added durability and a finished look.
These are the basic steps for making a bucket hat. You can customize the hat by choosing different fabrics, adding pockets or other embellishments, or adjusting the size and shape of the hat to fit your preferences.
